
During an implementation of a ServiceNow application, companies will be creating and modifying many various notifications to ensure that their employees are kept up-to-date with the most recent information. During the course of implementing these applications, testing will need to occur to ensure that these notifications are being generated at the correct time, to the correct people, and contain the information that will ensure that employees know exactly what actions are needed to be taken next. While testing these notifications, you might stumble upon an email that you just can’t seem to generate.
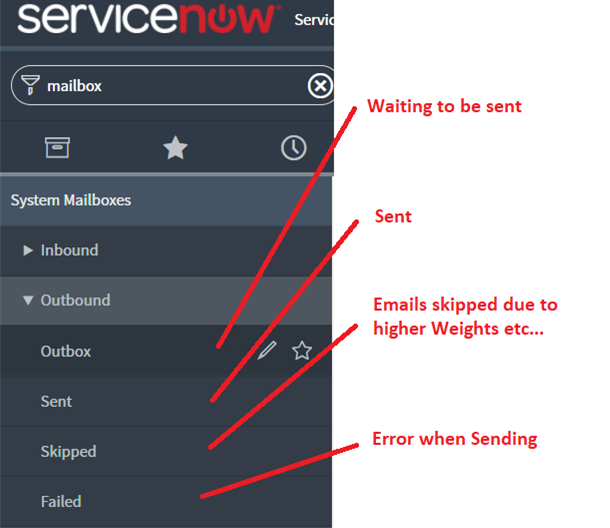
In ServiceNow, emails that have been created will appear in one of the following Outbound mailboxes:
But why am I not getting these emails sent to me directly? Below are some troubleshooting tips designed to ensure that the notification testing process is seamless.
Checking Outbound Email Properties
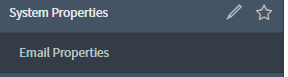
One common issue in the email setup is not activating the Outbound Email properties. To activate Outbound email, click on the Email Properties module found under the System Properties application. Note this will need to be done by a System Administrator.
From here, you will need to check off the field called “Email sending enabled.”
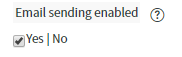
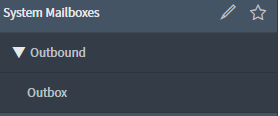
By doing so, emails will now be able to be sent from your ServiceNow instance. Note that if this field is not activated, all emails that are generated can still be found in your instance Outbox which can be found under the System Mailboxes application.
Confirming email recipients in a Sub Prod instance
So I have enabled the outbound emails to be sent, but I still am not receiving emails directly into my Inbox. The next place to check would also be in the Email Properties under a field called “Send all email to this test email address.”
In your ServiceNow instance, click on the Email Properties module found under the System Properties application.

From here, you will need to review the “Send all email to this test email address” field. For testing purposes, this field should contain a list of comma separated email addresses. Note that, while testing, if you are listed in this field, you will receive ALL notifications that are generated while your email address exists in this field.

When in a Production ServiceNow instance, this field would be left empty to ensure that emails are sent to the actual recipients.
User record troubleshooting
Email sending has been turned on and I listed my email address in the “Send all email to this test email address” field. Now, I am starting to get some emails, but I’m not getting every single email that I expected. One of the first places to check is the user table. There are a few key fields on the user table that drives email generation.
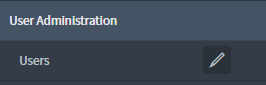
In your ServiceNow instance, as a System Administrator, click on the Users module found under the User Administration application.
By doing so, you will now see a list of user records in your instance. From this list, locate the individual who was not receiving emails from the system. Once you have located the user record, click into this user. On the form, you will see a field called “Email.” This field will need to be populated with a valid email address and should not be left blank.

While on the user record, also take note if the user is Active or not. A checkbox type field called “Active” will appear on the user table. This must be checked TRUE if the user is going to receive notifications.
![]()
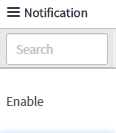
Finally, there is one other field on the User table which is of importance for notifications. This field is called “Notification.” If you were to go back to the list of users, locate the column called Notification. You will need to make sure that for the user you are expecting to see emails sent to, that the Notification column is set to Enable and not Disable.
Checking the Notification itself
If everything checks out from a user and email property configuration standpoint, it might be time to actually look at the notification itself to see if there was something invalid in its creation or modification.
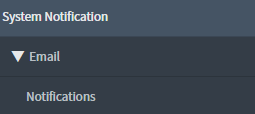
To get to the module that houses all notifications, you would click on the Notifications module found under the System Notification application.
By doing so, you will be directed to a list of notifications that are Active in your ServiceNow instance. Initially, if you search for the notification that is not being created in this list, and you can’t find it, that means your notification is inactive and needs to be activated. The easiest way to locate your notification from this module is to search by Name and on table. A simple query can be built in ServiceNow to help you track down this notification. If the notification touches the Incident table and should be sent when an Incident is resolved, a query such as the below would be used to track down this notification.

Once you have located your notification from the list of notifications, and determined it is indeed Active, the troubleshooting will continue on the notification itself. Once on the notification, click on the “When to send” tab.
If the Send when field is set to Record inserted or updated, make sure that either the Inserted or Updated checkbox is checked off.

If the Advanced Conditions are also used, both the Conditions and Advanced Conditions must be true. Also, make sure that your Advanced Conditions make sense!
Now onto the weight field. The Weight field on the Notification form applies to notifications with the same target table and recipients. The system will only send the notification with the highest weight. All other notifications with lower weights are moved from the Outbox to the Skipped mailbox. The default weight of 0 causes the system to always send the notification, assuming all conditions have been met.

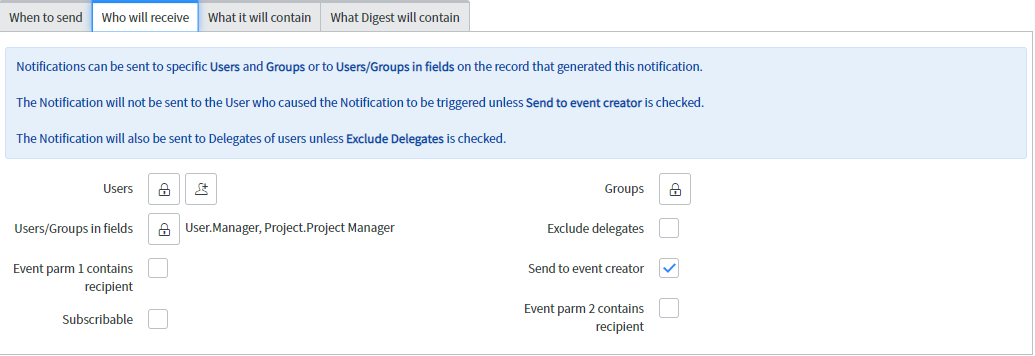
Next we will move onto the “Who will receive” tab of the Notification form.
Users: This field will contain hard-coded users
Users/groups in fields: Fields on the form which will contain users or groups.
Event parm 1/2 contains recipient: The recipient/group that the email goes to if the email is triggered from an event.
Subscribable: Users can “subscribe” via a related link to receive notifications.
Send to event creator: Users that cause the email conditions to be evaluated will not receive a notification if FALSE.
Exclude delegates: This would exclude a user’s delegate from receiving this email if this was checked TRUE.
**Remember that if there are no recipients called out on this tab, no email notification will be generated**
Email Recipients
My email has finally been generated and I can now see it in my personal inbox. In a sub PROD instance, you are now receiving all notifications that are being created. How do I determine who the actual recipient(s) of the email should be?
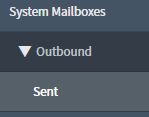
In your instance, click on the Sent module found under the System Mailboxes application.
From the list of sent emails, locate the email in which you are looking to validate who the email was actually sent to. On the email form, there will be a field called Recipients. This field will indicate every user that would have received this email in a real life production scenario.
